Introduction
This article provides a detailed explanation on how to register and set up floor plan data.
By registering the floor plan data and overlaying it with the design data, it can be utilized for considerations such as planning the next construction step.
Procedures and Explanation
1. Click ”Add data layer”.

2. Upload design data files by drag & drop or from a local folder.
When you want to confirm what data extensions are available for registration, please click on the "?" mark.
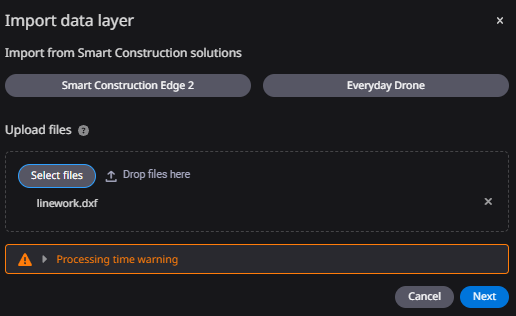
3. Select "Linework" as the type of data to be registered.

4. Set up the floor plan
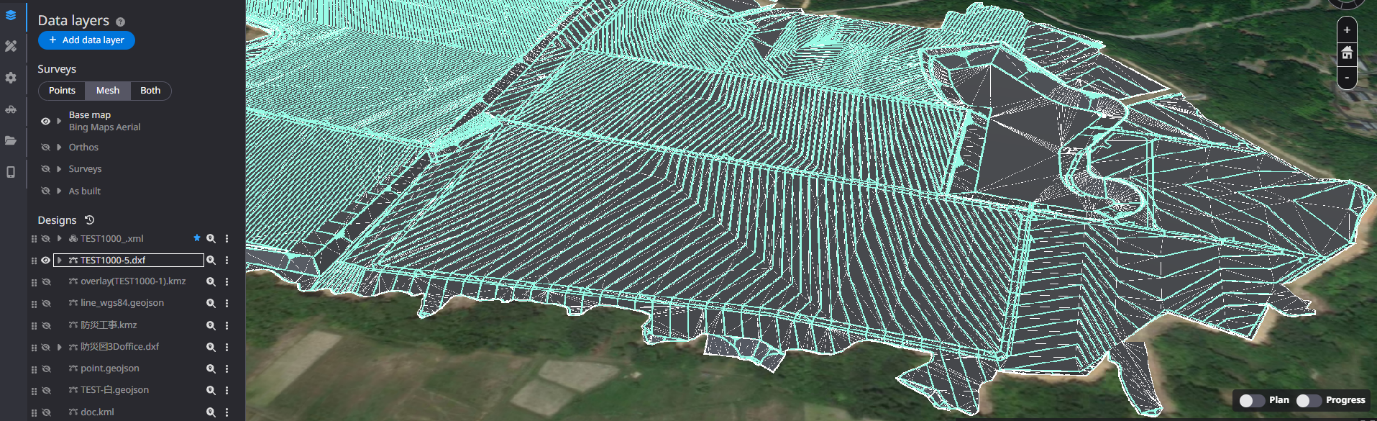
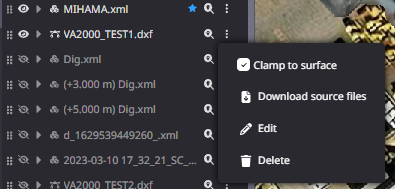
1) Check the registered plan data in the "Setup Data" in the side panel.

2)Click setting mark of the plan data which you want to superimpose on the target design surface.
3) Check the "Clamp to surface".
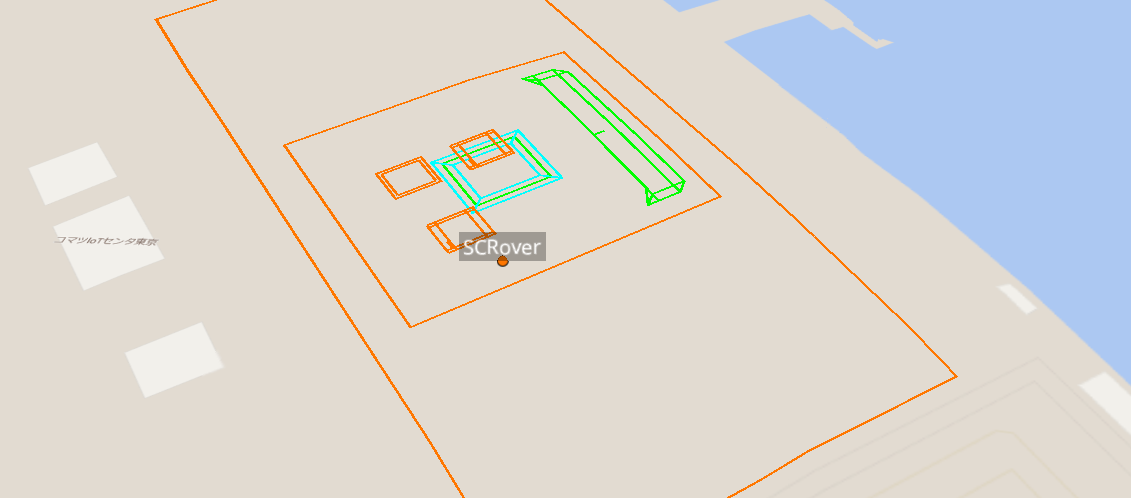
5. The floor view data is displayed.
(1) When only survey data is displayed, a plan view along the topography is clamped.
*If "Show design data" is selected at the same time, the priority is changed considering the elevation.
Display only survey data on

Survey data and design data display on

(2) If the survey data display is off, the plan view will be displayed in the order of priority of the ortho data and base map.
When ortho data display is on, ortho data takes priority over the base map and the plan view is displayed.
*Design data by itself is not included.
Ortho data display on

Display ON for base map only