Introduction
This article provides a detailed explanation on how to set up the annotation information you have created to customize it.
You can customize annotation to your liking.
Procedures and Explanation
Each annotation can be edited by clicking the edit icon (pencil button) after selecting the annotation.
[Functions that can be changed]
-
Name change
-
Change the color and transparency
-
Notes

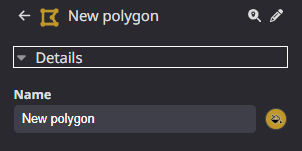
[Name change]
Click "Name" to change it.
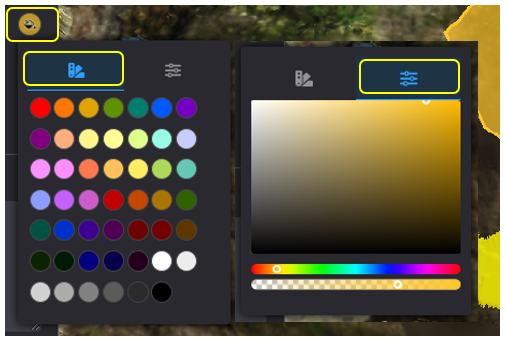
[Change Color/Transparency]
Click on the "
" to change the color and transparency of the enclosed area.
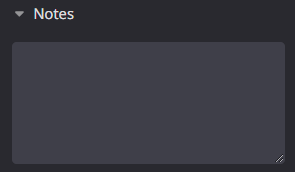
[Notes]
This is used to share information with relevant parties.
The following functions are available only for "Polygon" and "Construction area".
"Polygon", "Construction area".
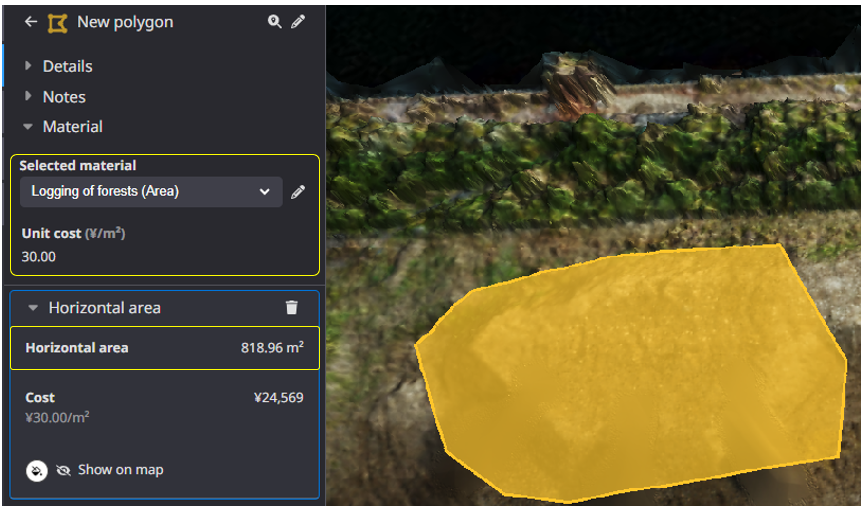
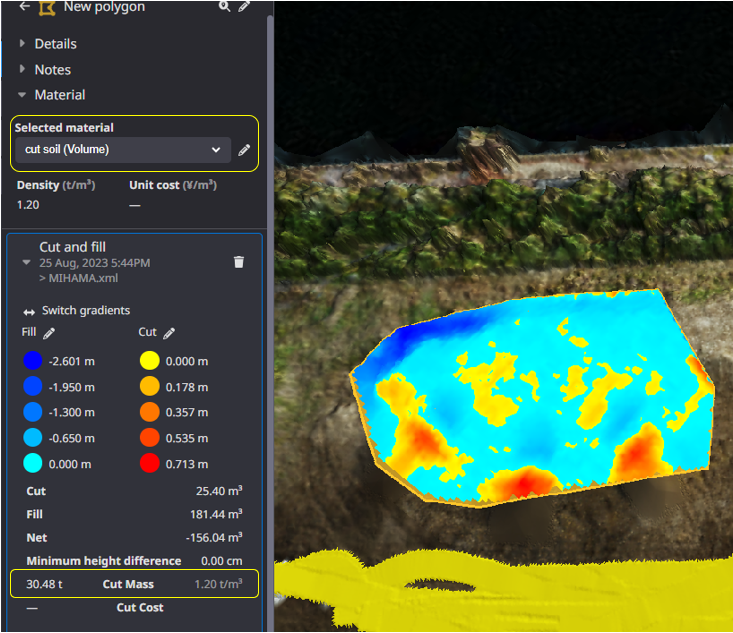
[Materials]
1) Set the soil type.
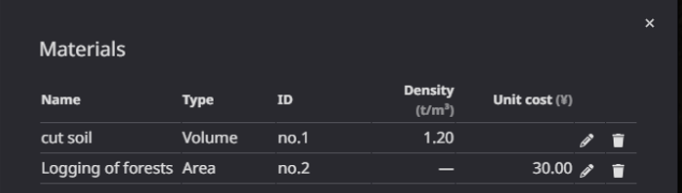
*This is used for cost calculation at the time of measurement, etc.
*Since Dashborad viewers (jobsite staff) can view this information, please be careful when entering the unit price.
*It is recommended that the ID be an arbitrary number, etc.
2) In the "Type" column, select either "Volume" or "Area"
*Perform the soil volume calculation after selecting the soil type.

[Volume]
Soil volume measurement will be reflected in the results according to the soil type.
[Area]
Enter a unit price and measure the area, and the cost according to the unit price will be reflected in the measurement results.