
-
Launch SC Dashboard and open the project the drone data will be associated to
-
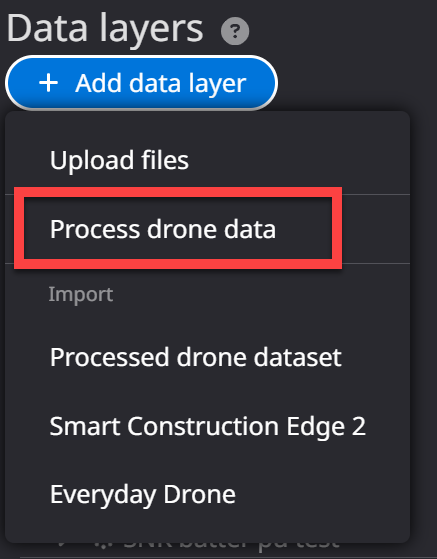
Click “Add data layer” icon

-
A dropdown menu appears with multiple selections. Select “Process drone dataset”
-
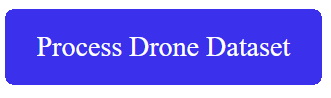
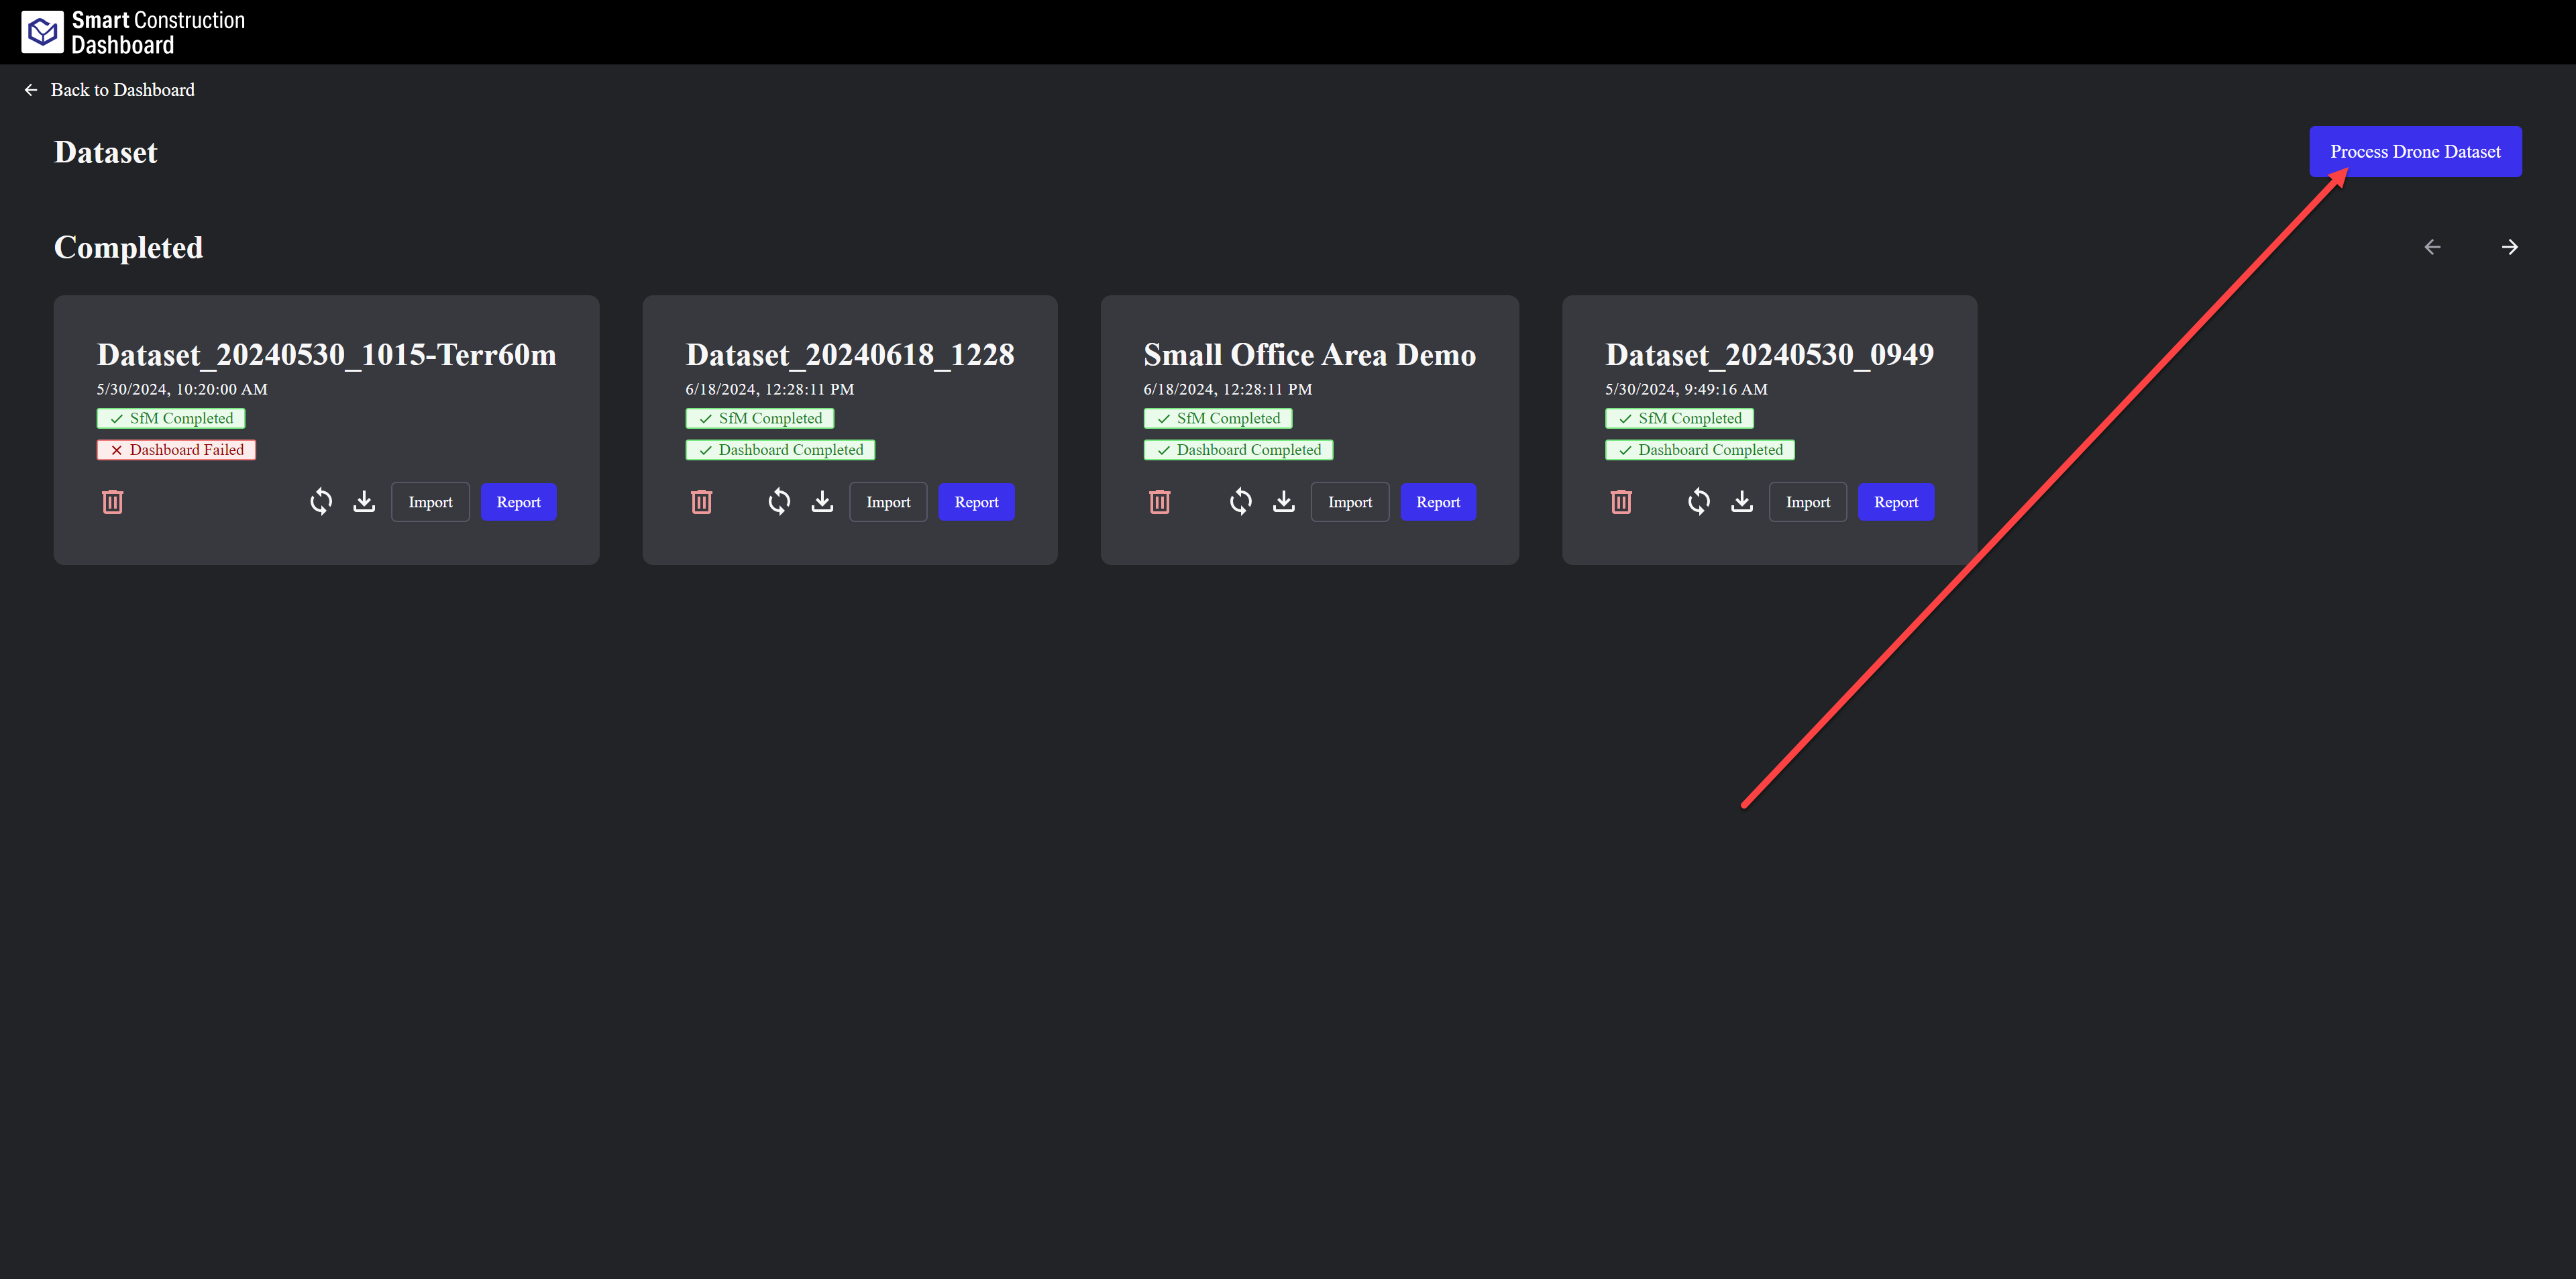
This will open a navigate to another window. Press “Process Drone Dataset”
-
This will open SC Cloud SfM Platform to start your uploading.
-
Step1: Drag & Drop the entire folder that was directly from the drone into this tab. You can also click the tab to search your computer for the folders you want to upload.
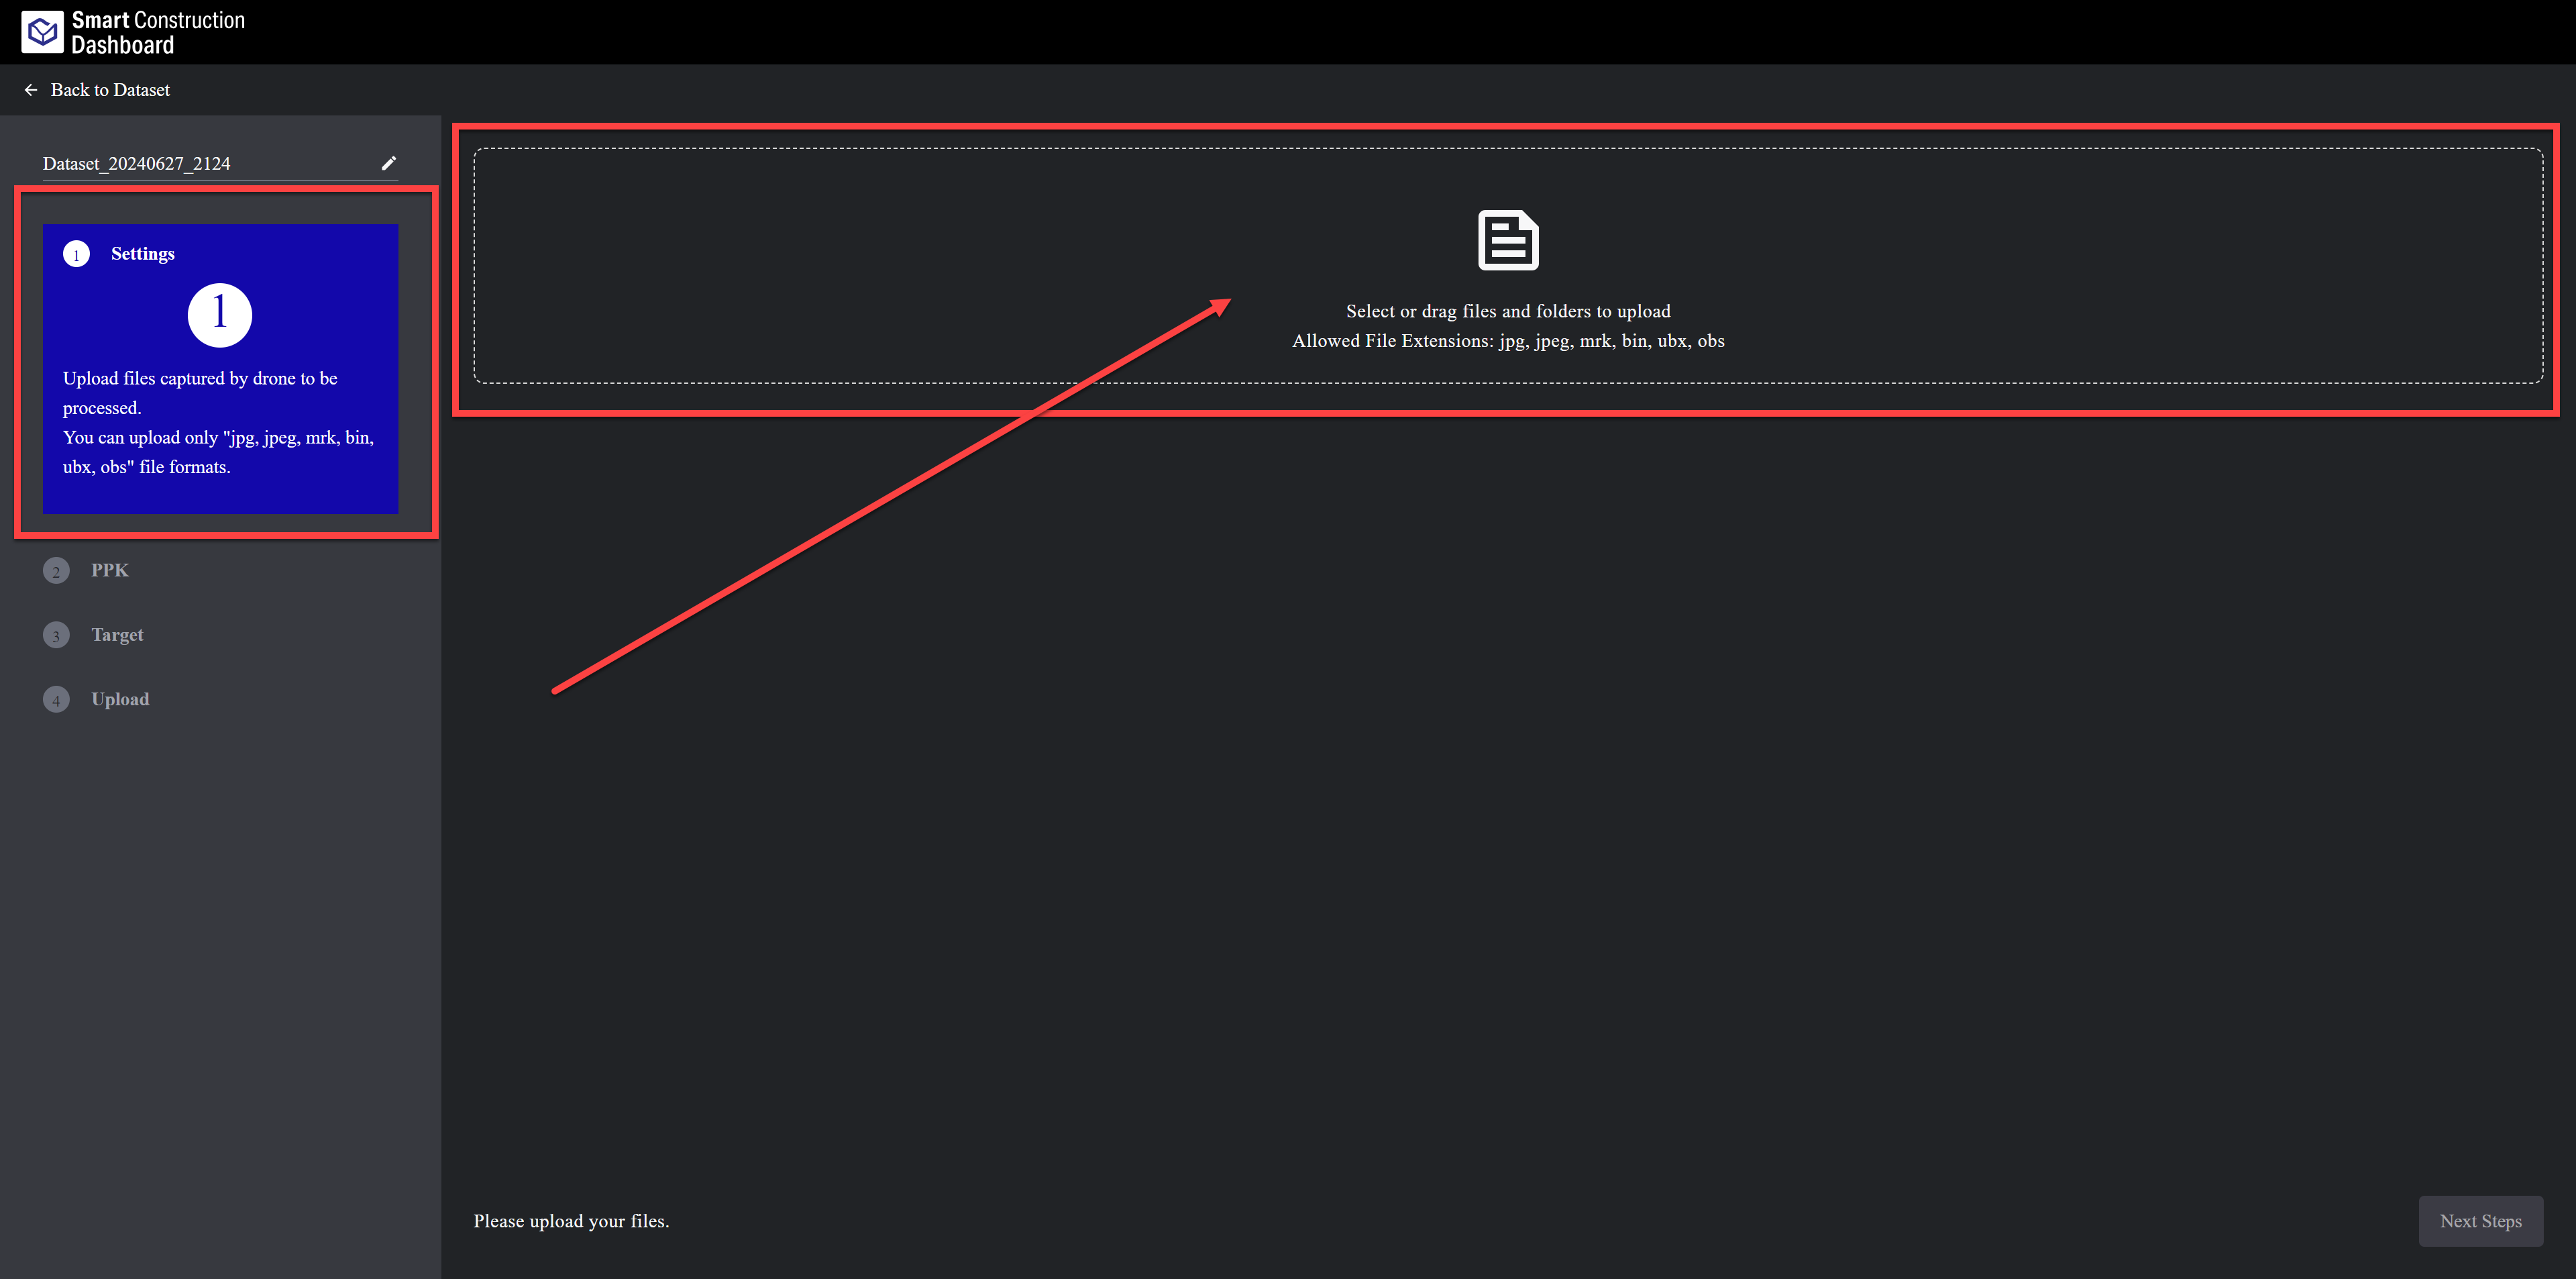
For a Multi battery flight you can select more than one folder and drag them together
The folder should contain the original photos and files that came from the drone. Do not ecit the files inside the folder or place other files inside the folder. this may result in uploading or processing failure.
-
Still Step1 “Settings: An overview of your flight is displayed & Settings rrequire.
-
1. Shows the photos the drone has taken over Google Map as an indication.
-
2. For PPK flight leave unticked. For RTK flight tick on
-
3. Advise to select “Everything” to leave bear earth
-
4. Data validation, All should be Green Ticks. If one has an error message check your data, if error persist then data is unfortunately unusable and a refly is required. This is very rare if best practice is followed.
-
5. Press “Next Steps”
-
-
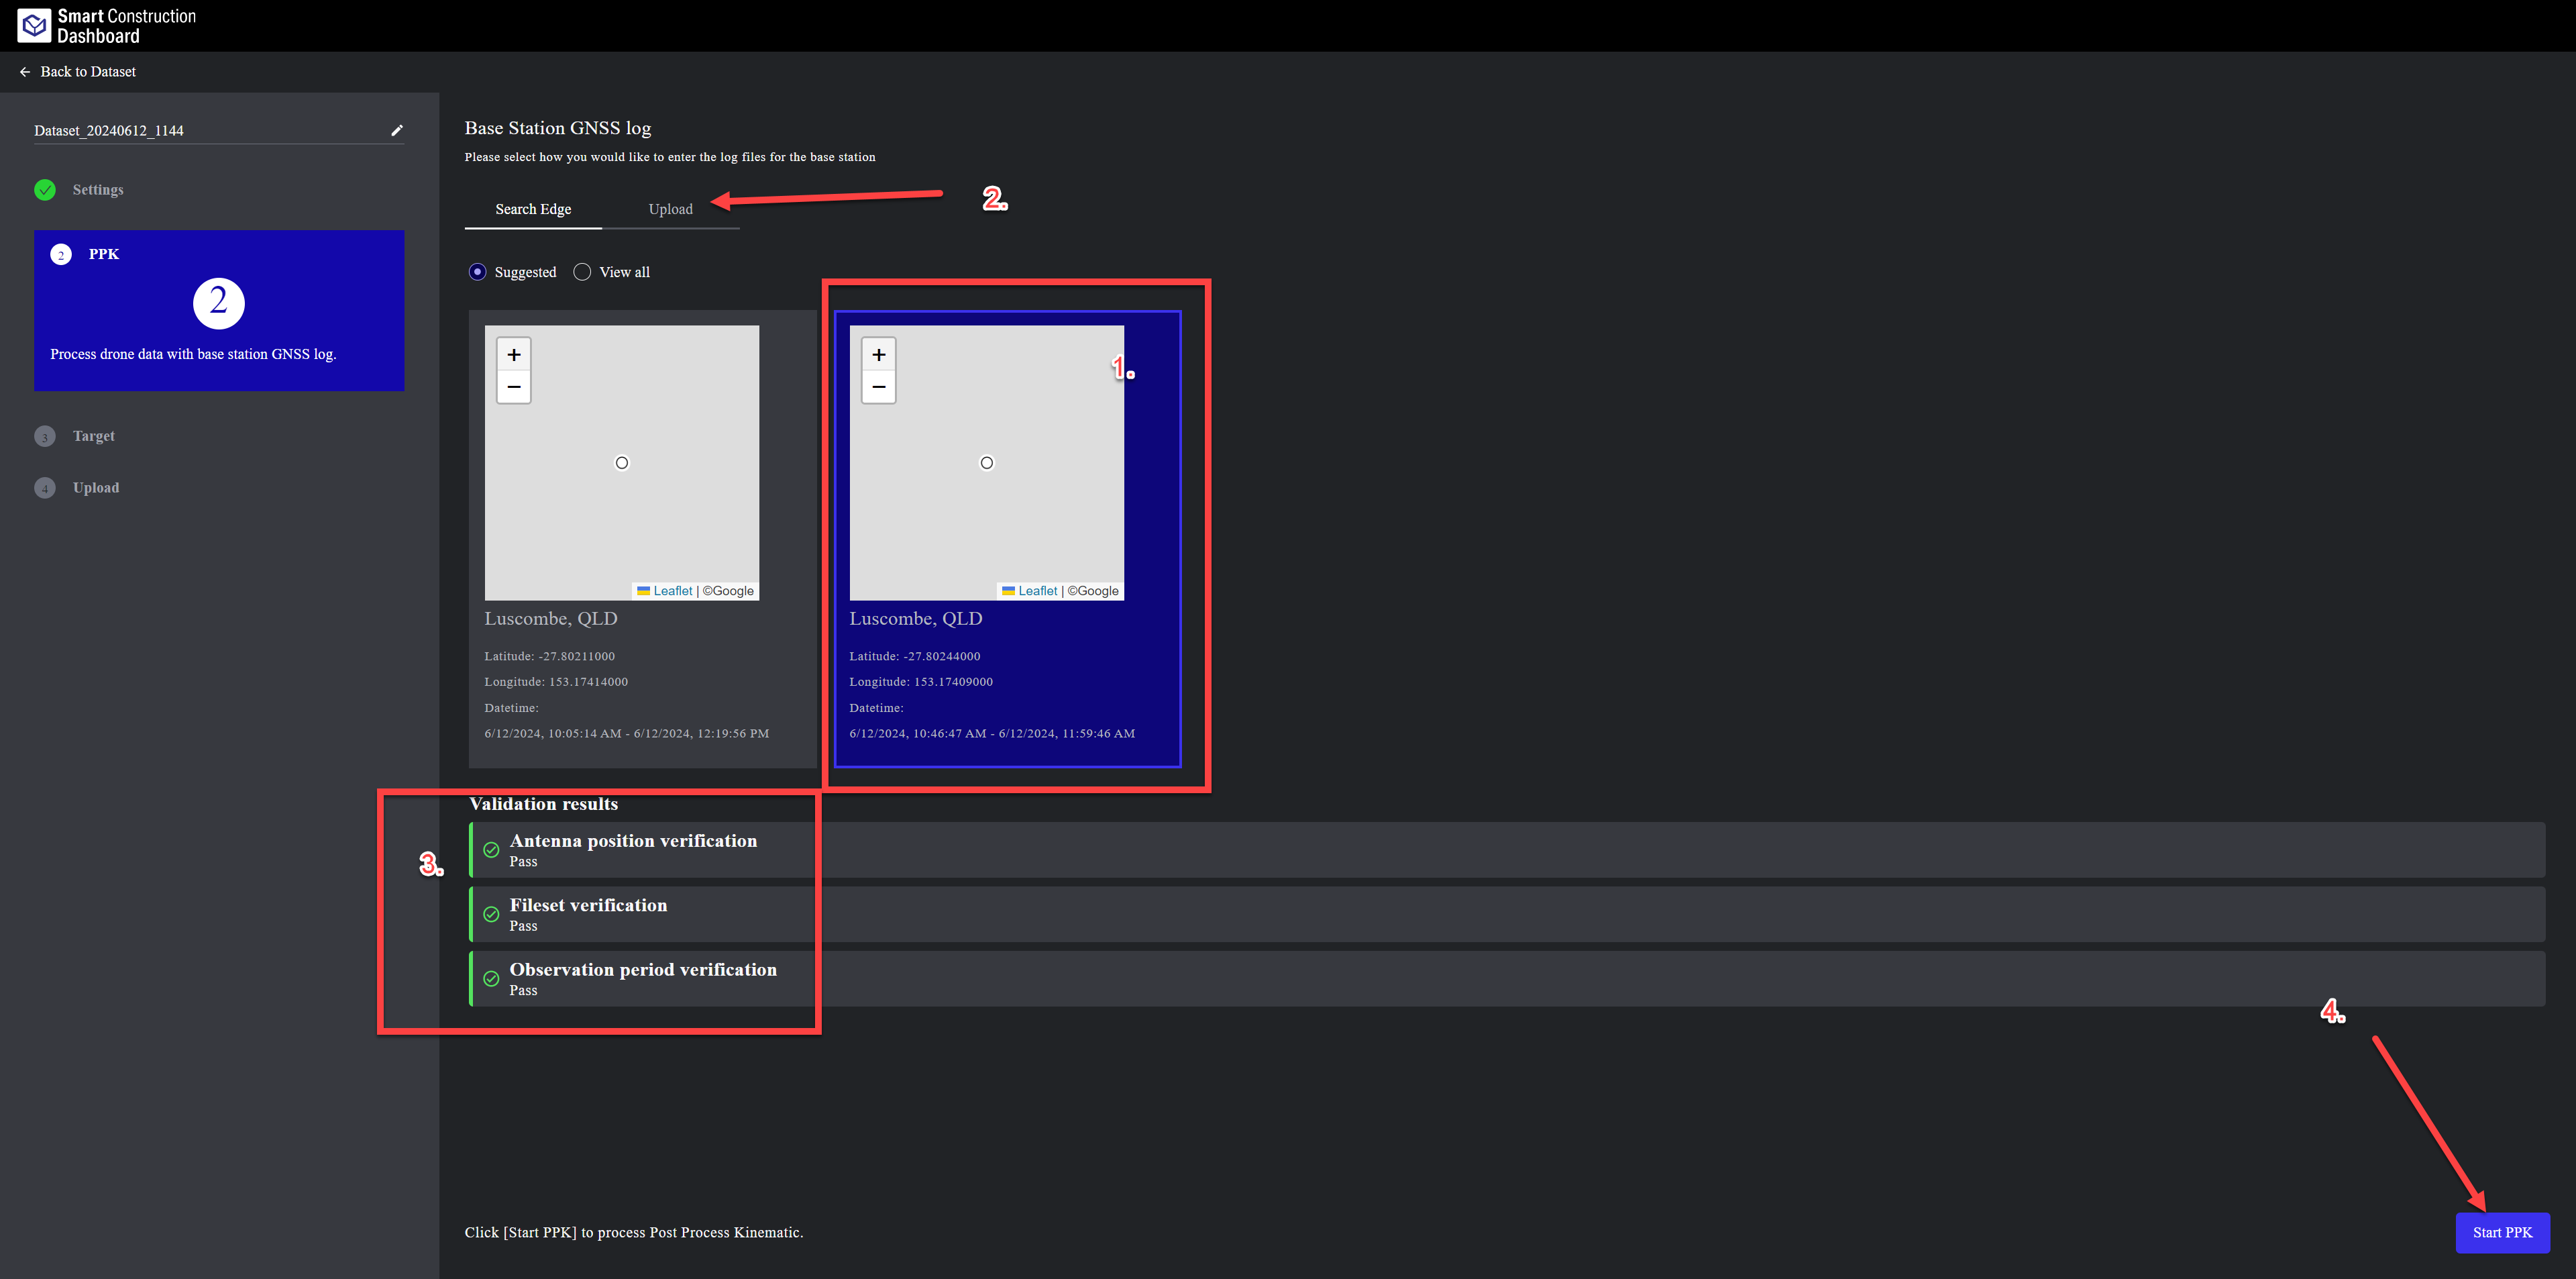
Step2: For PPK flight
-
1. If you have sent your Edge2 base log after PPK log stopped it will be displayed here and you can select it
-
2. Or you can upload your Edge Base log
-
3. All should be Green Ticks
-
4. Press “Start PPK”
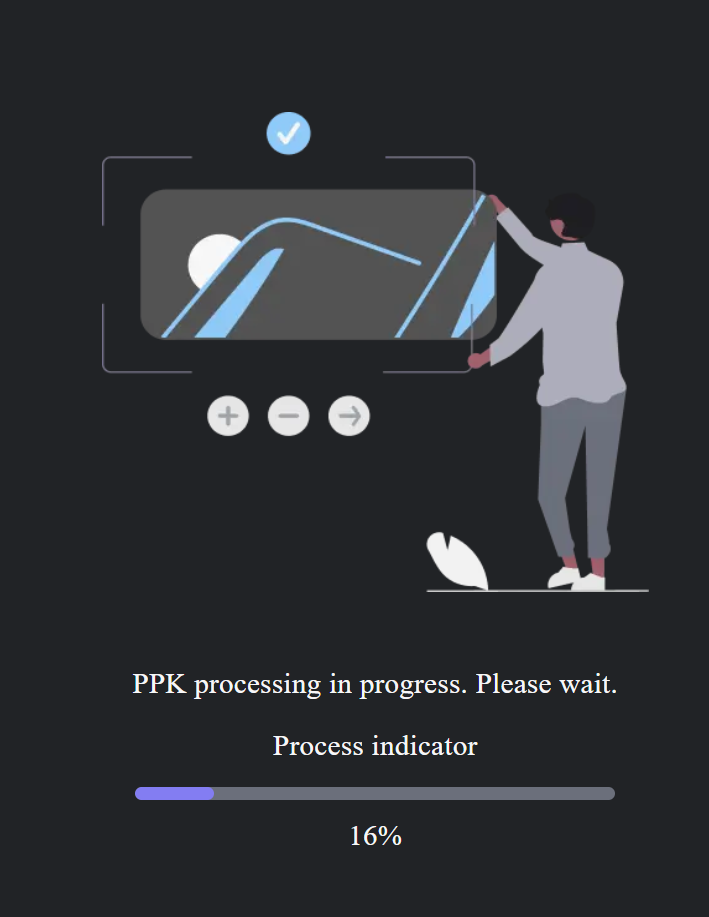
Wait for PPK Processing to finish 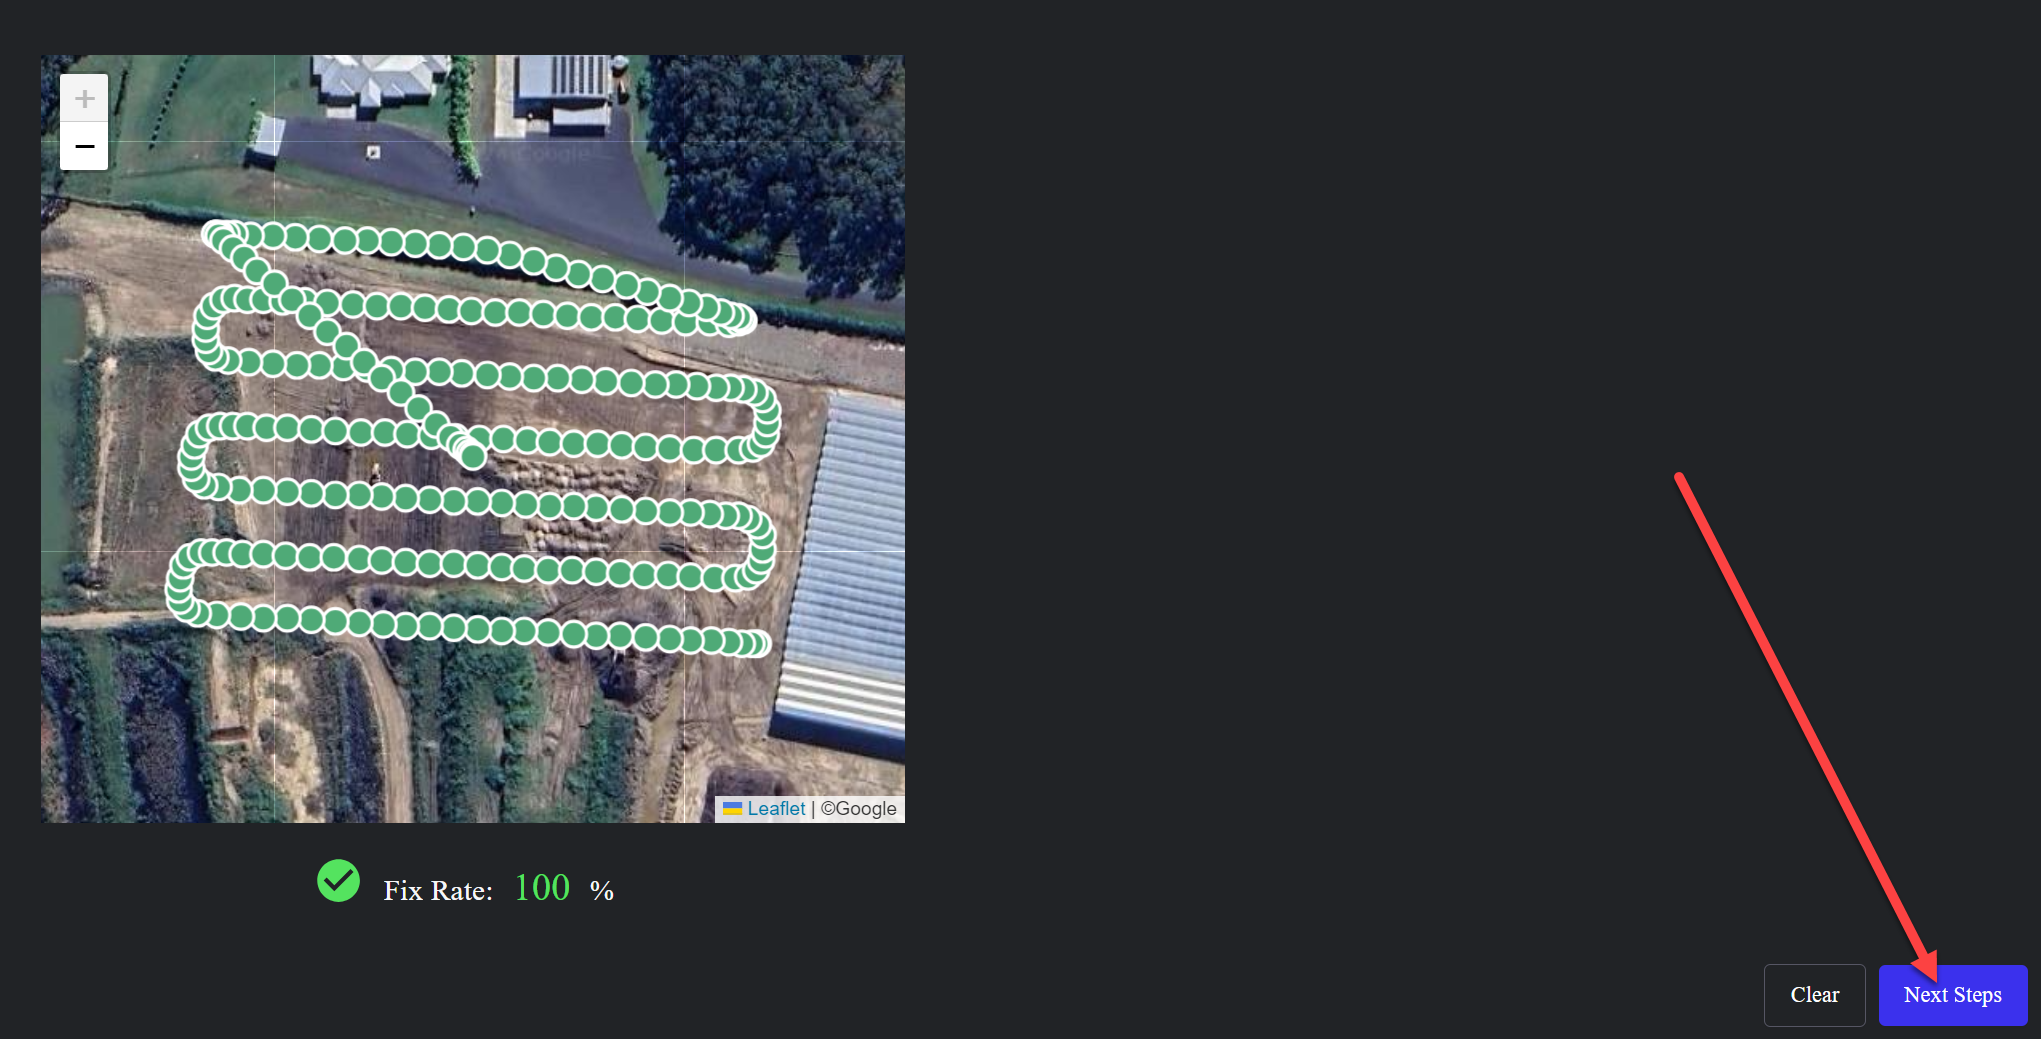
Confirm PPK Result and press “Next Steps”
-
-
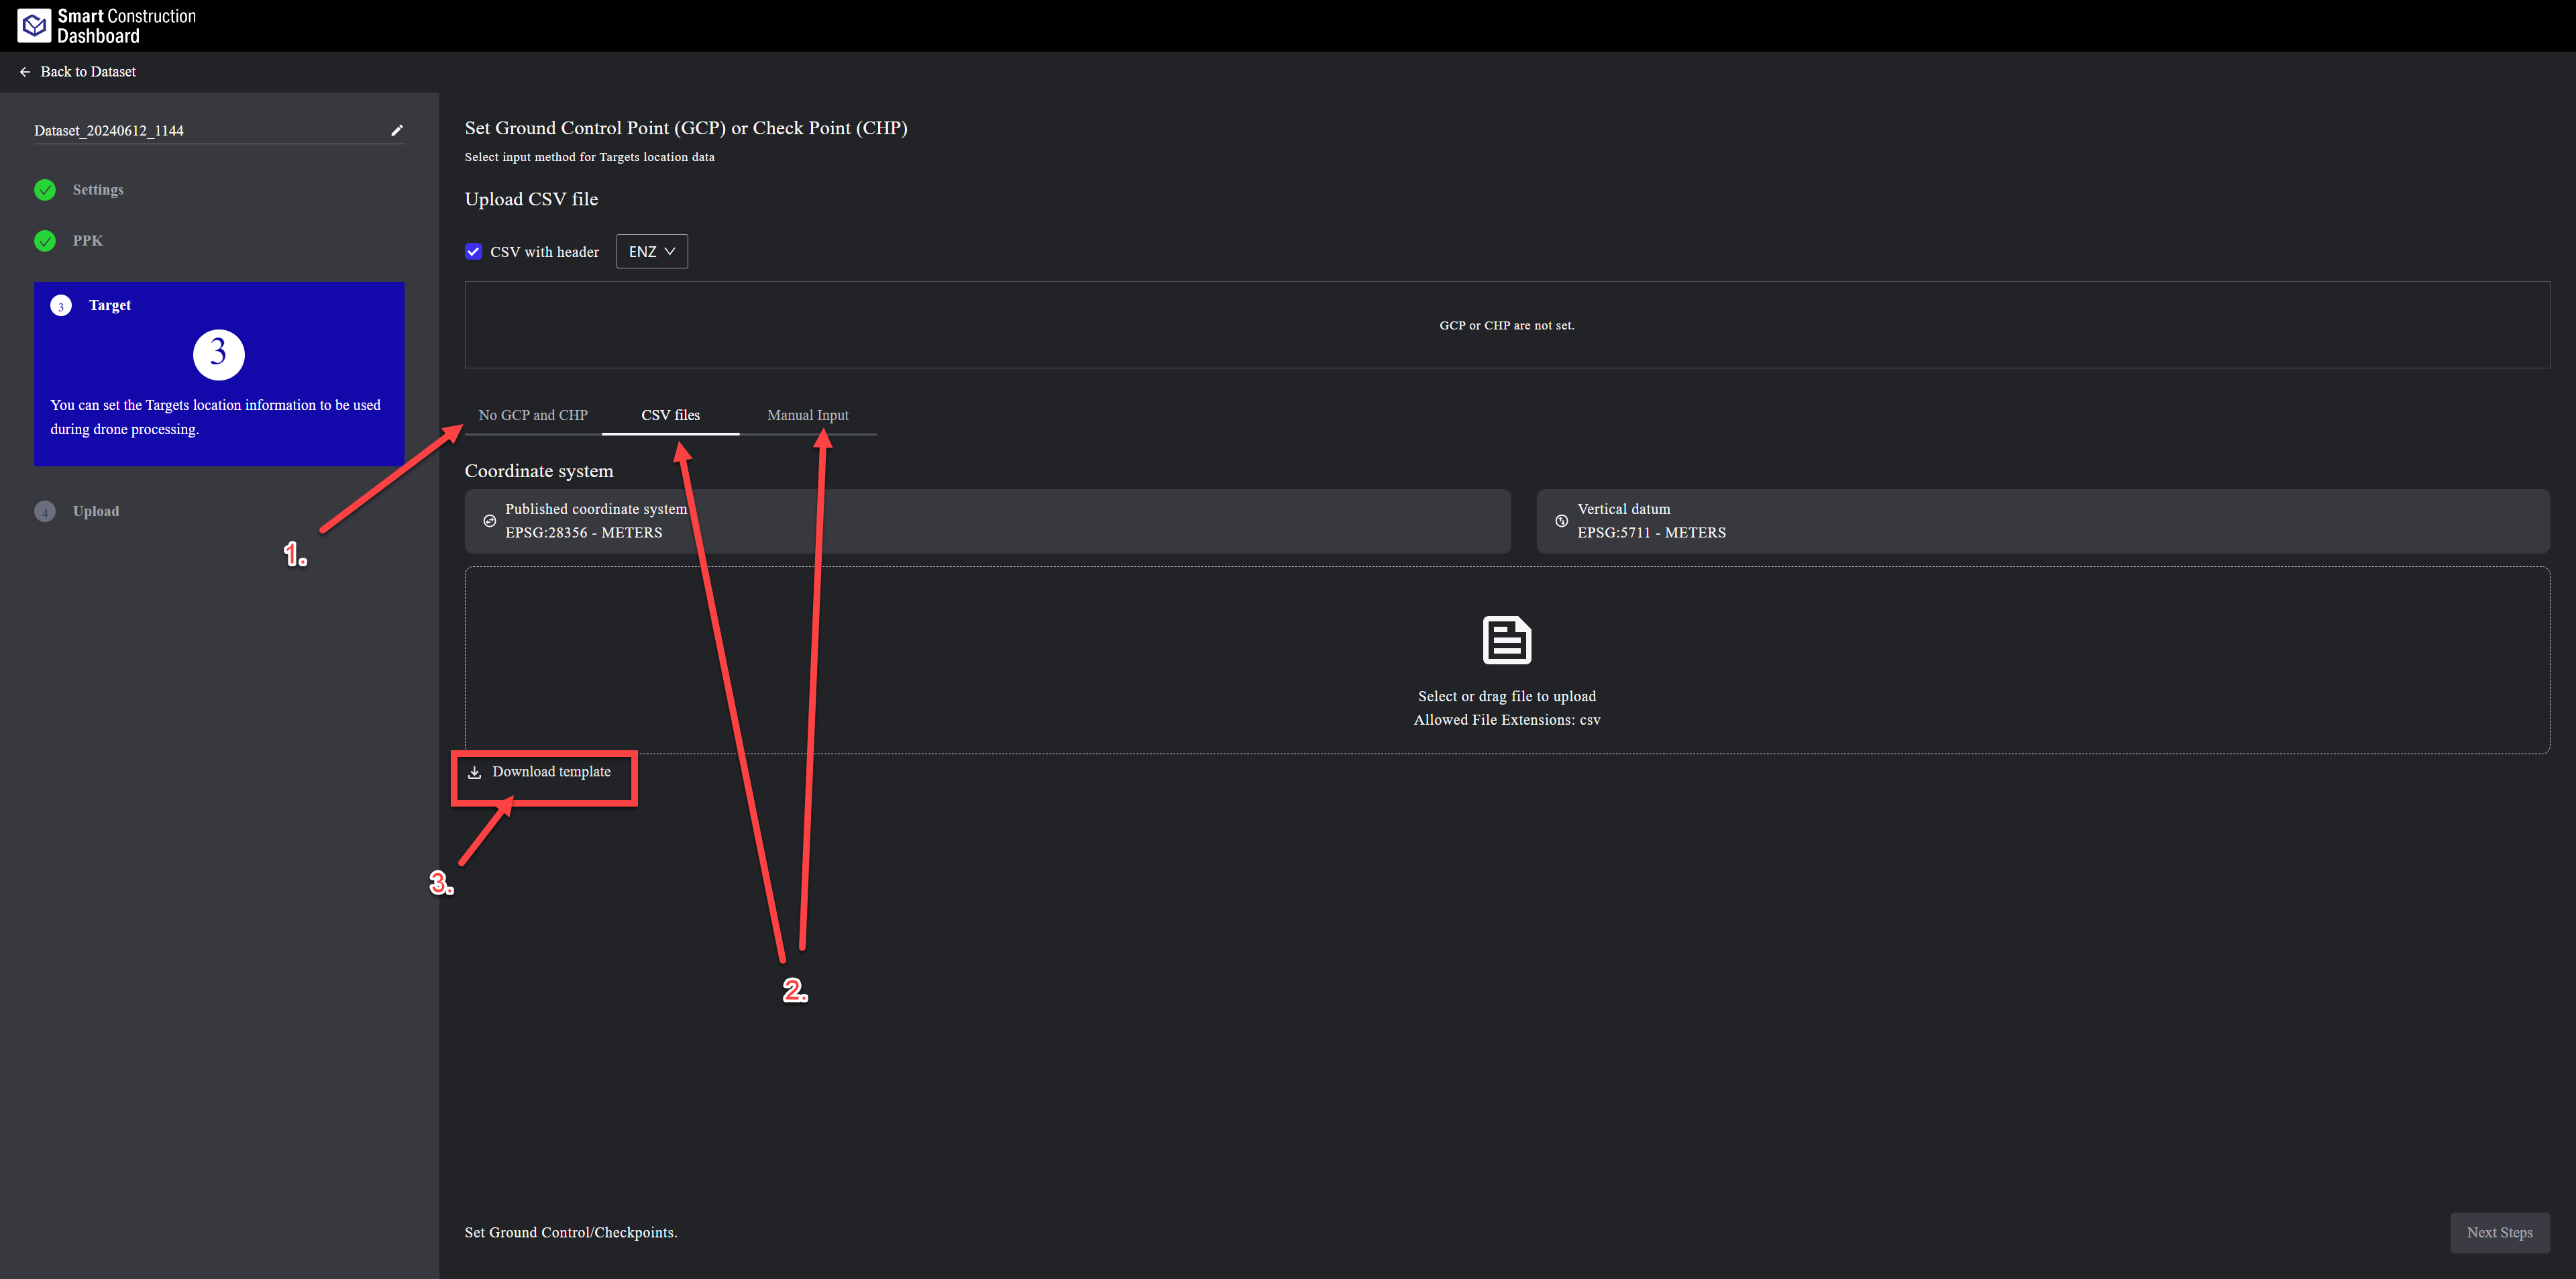
Step3: Targets/GCP's & CHP’s
-
1. If no GCP’s or CHP’s are required choose “No GCP & CHP”
-
2. If you want to include GCP in the SfM processing to improve accuracy Select “CVS File or Manual Input”
-
3. Download the CSV Template if needed to use
-
Step3: Choose to use the targets as GCP’s or CHP’s.
-
CHPs can be used in two ways. Set the target as “Checkpoint”
-
1. To only check Vertical accuracy of the point cloud based on the CHP coordinate and height. the SfM software automatically then checks the surrounding points and adjust/bench out the point cloud Vertically to better match you CHP. Multiple CHPs can be used.
-
2. Used to do a 3d accuracy check of your drone data. this will also produce a ENZ accuracy report. to do this you need ot tick #3 “CHP Annotation”
-
BOTH CHP options Cannot be used simultaneously.
-
-
To use the targets as GPS set them as “Control”
-
Press “Next Steps”

-
-
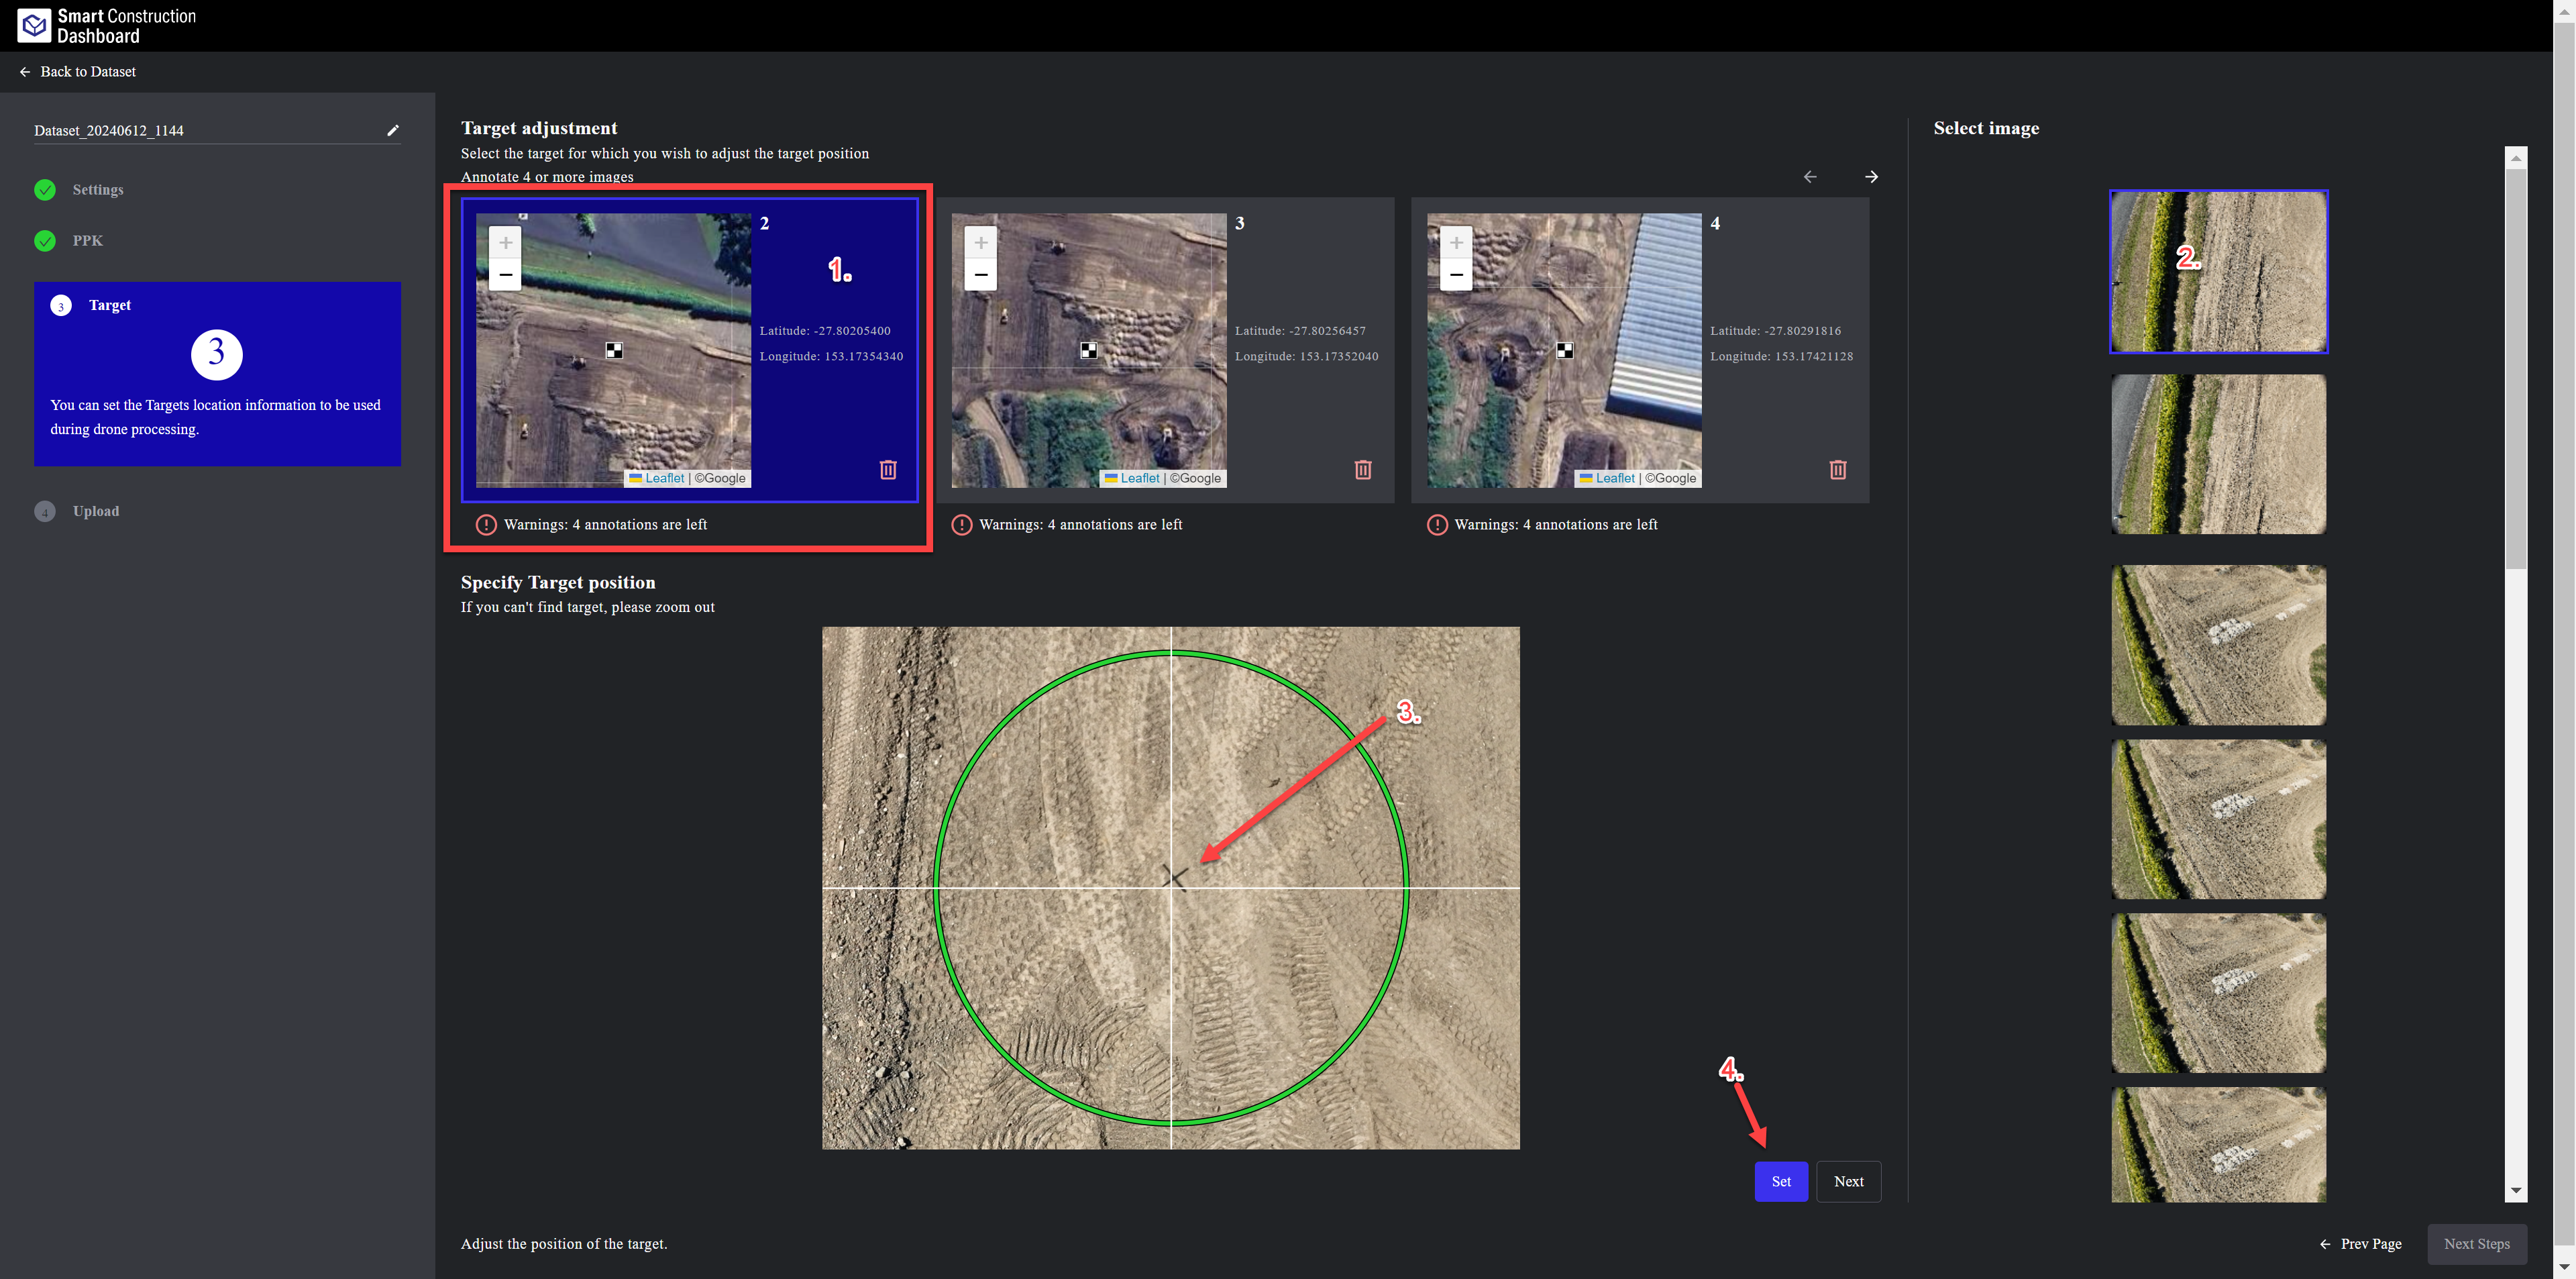
Step3: GCP/CHP Tagging
-
1. Select your first target to start tagging its center.
-
2. Wait for the photos to load and select the first image
-
3. the software will make a green circle close to where your target should be. Zoom in all the way and press “Set”. The next image to tag will automatically be displayed to tag. A minimum of 4 images are required but it is best practice to tag many to increase accuracy.

-
when you have finished with the one target you need to select and do the same for the other targets. When finsihed with all targets taggin select “Next Steps”
-
-
-
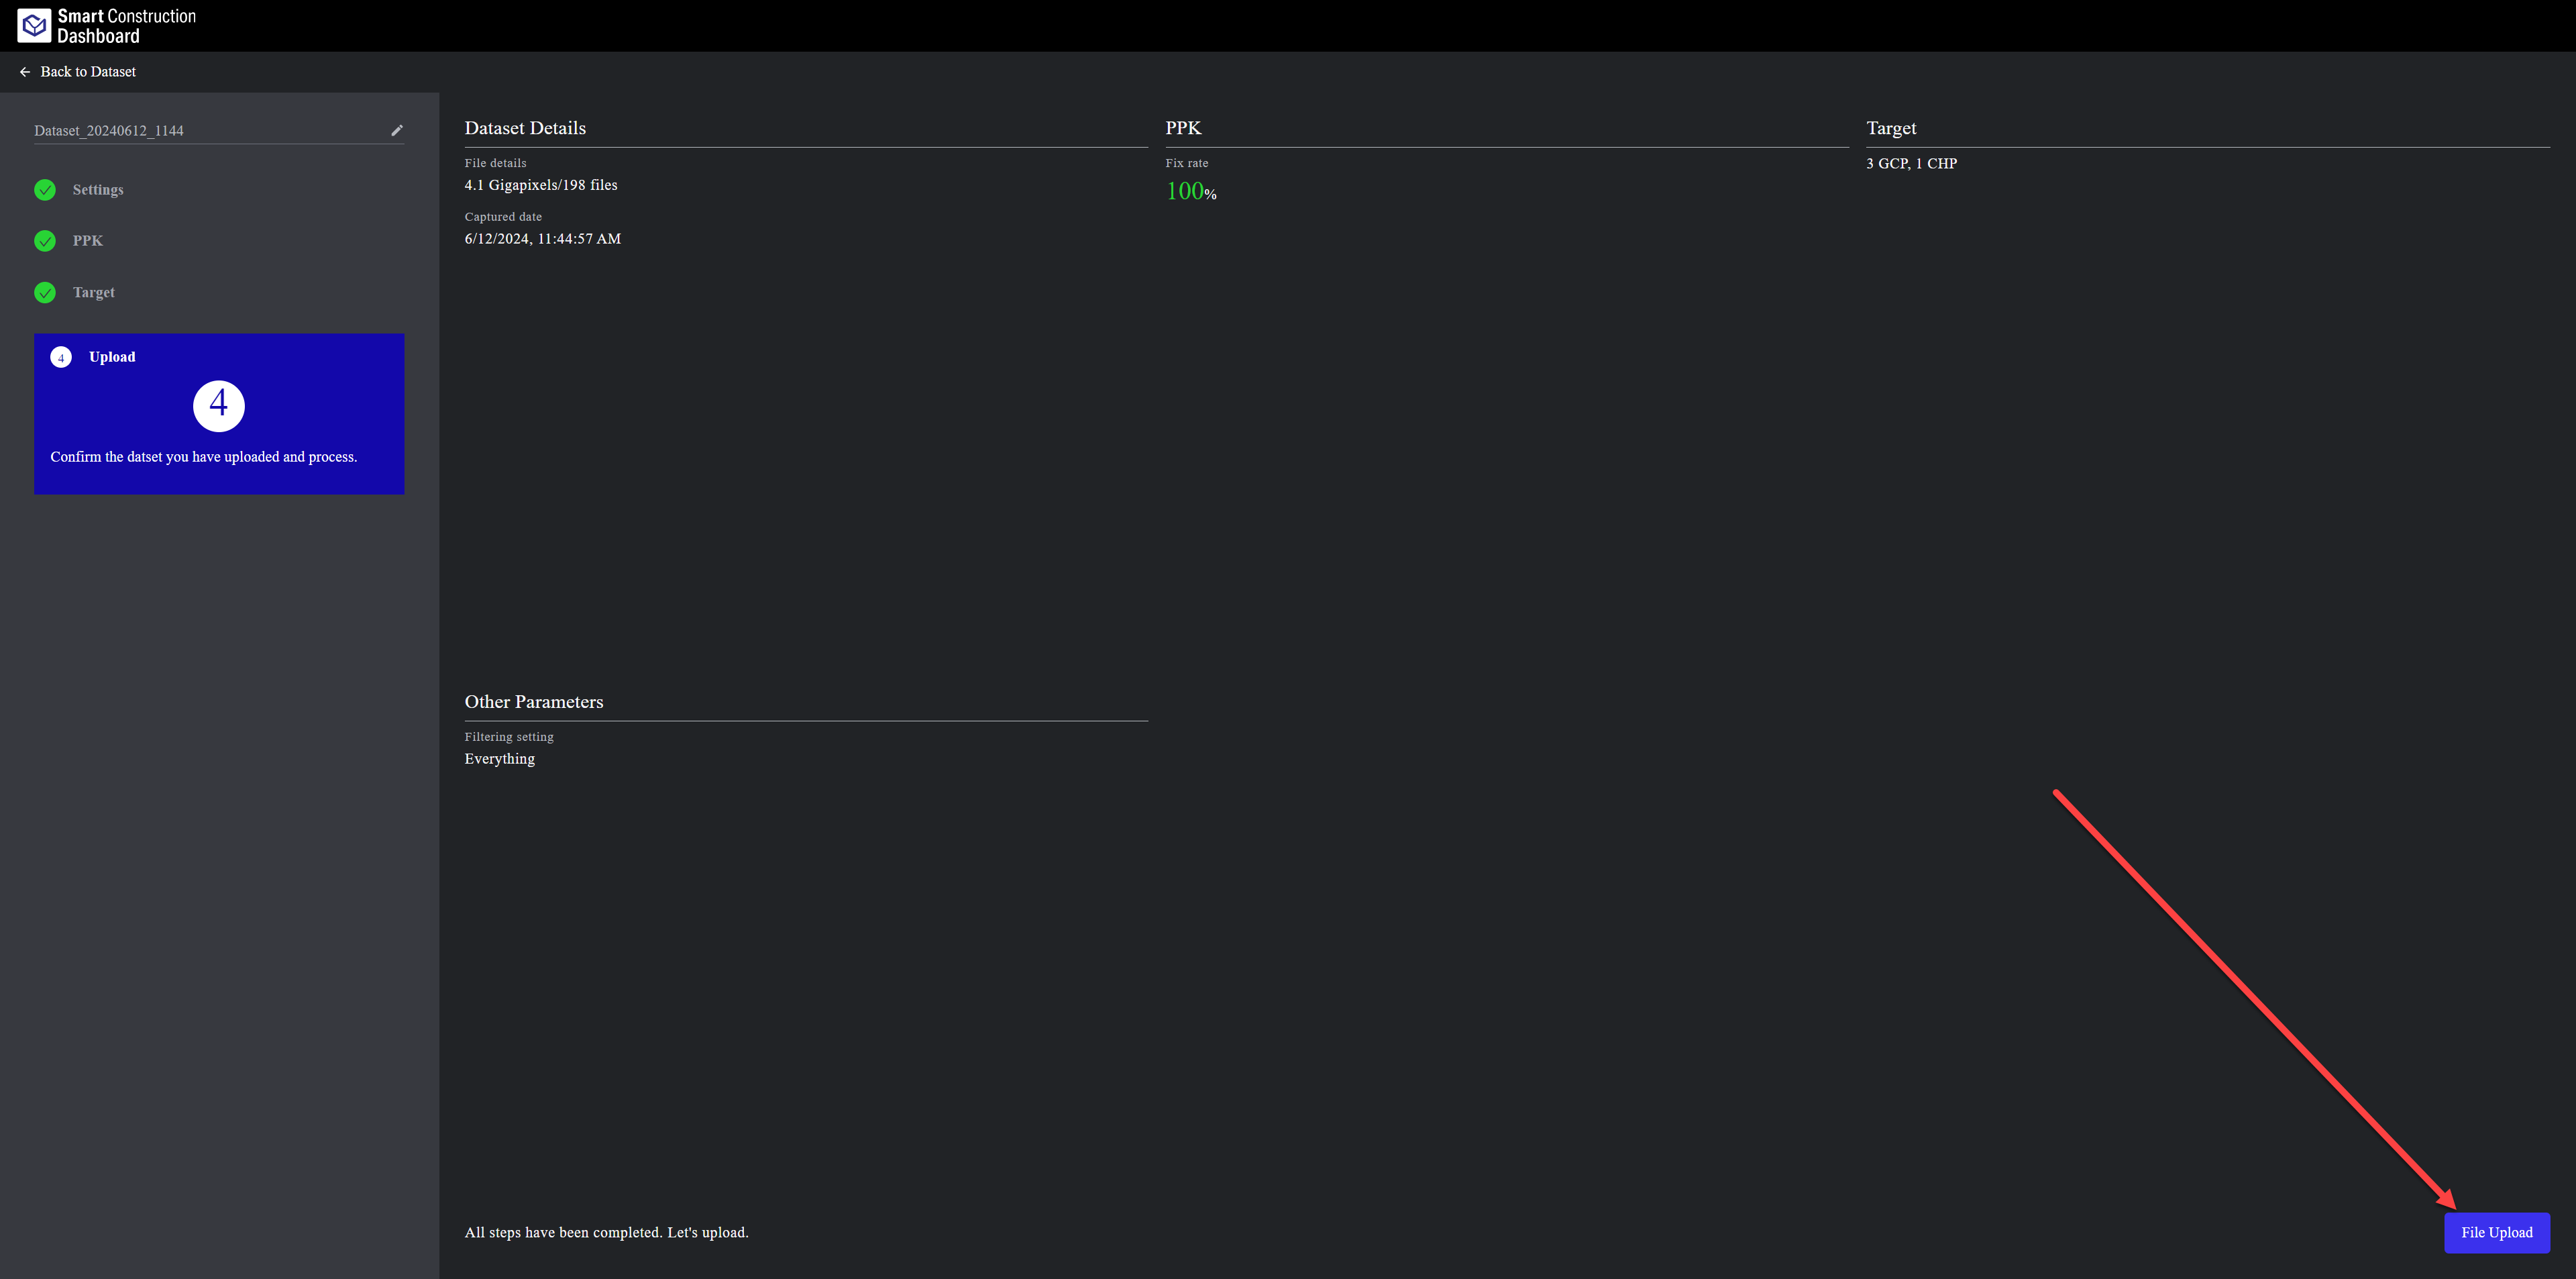
Step4: Confirm and Upload
-
Information is displayed of all the data and Targets.
-
Press “File Upload” To start Uploading all the data for processing
-
-
Wait for 100% completion and the platform shows to “Return to Dashboard” before closing the browser or shutting down.
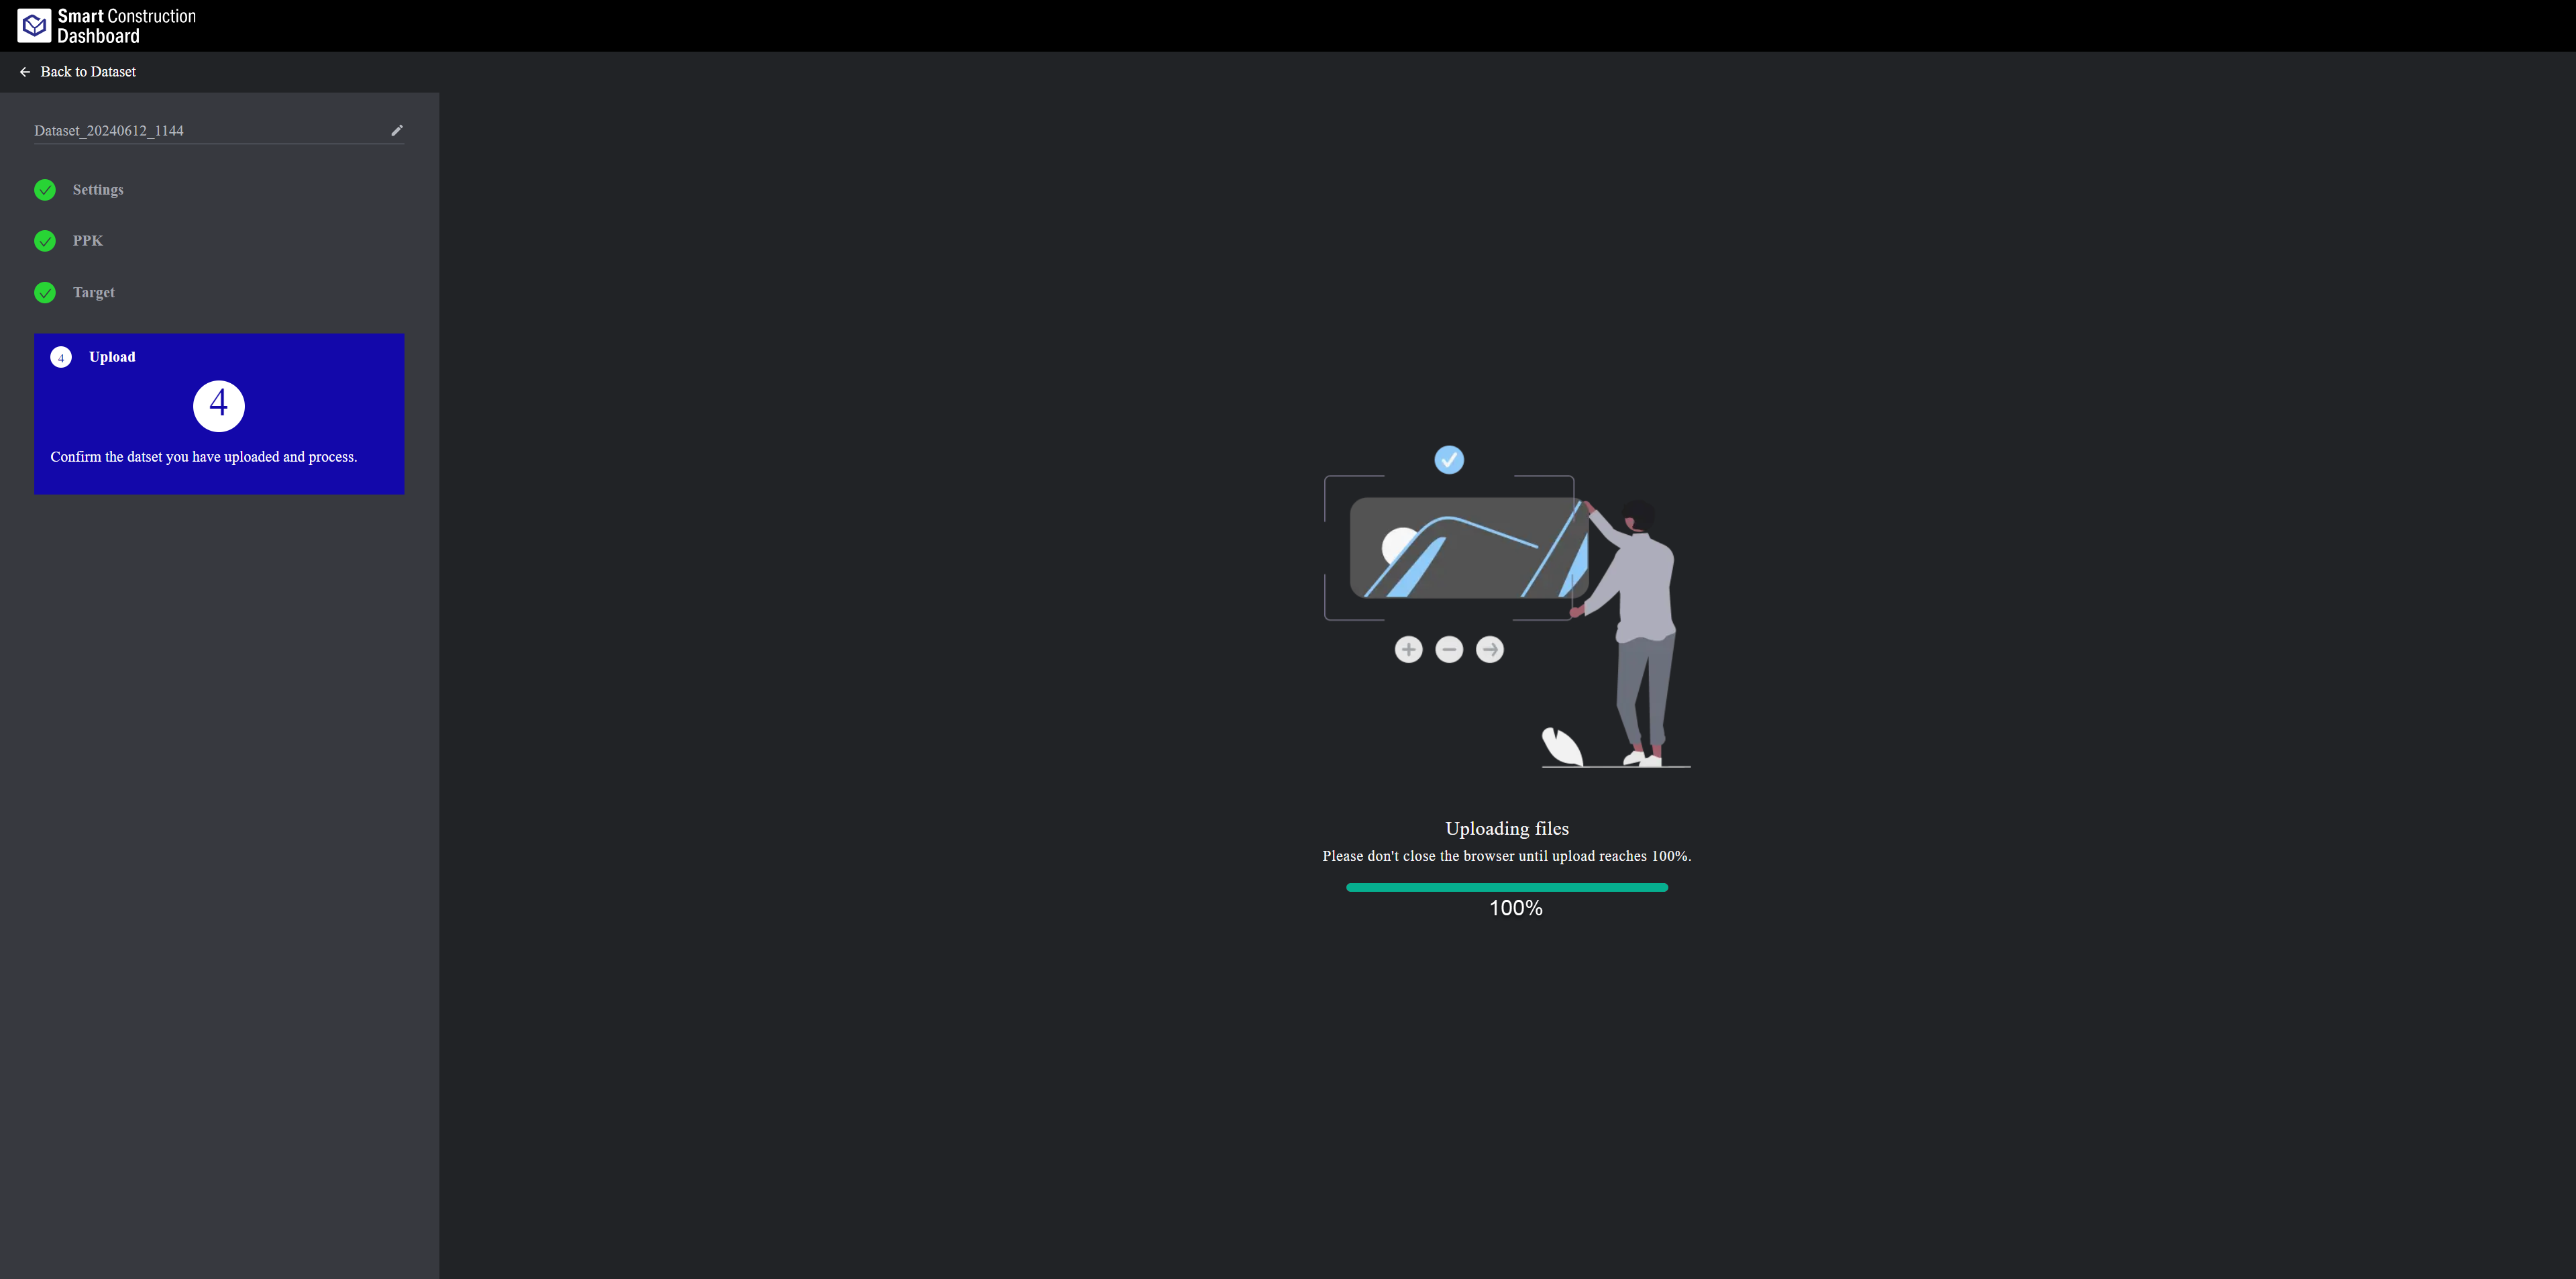
Do not switch network connections during uploading. It may result in uploading error and needing to start from the beginning.
Do not let the computer go to sleep as this may also affect the uploading process.
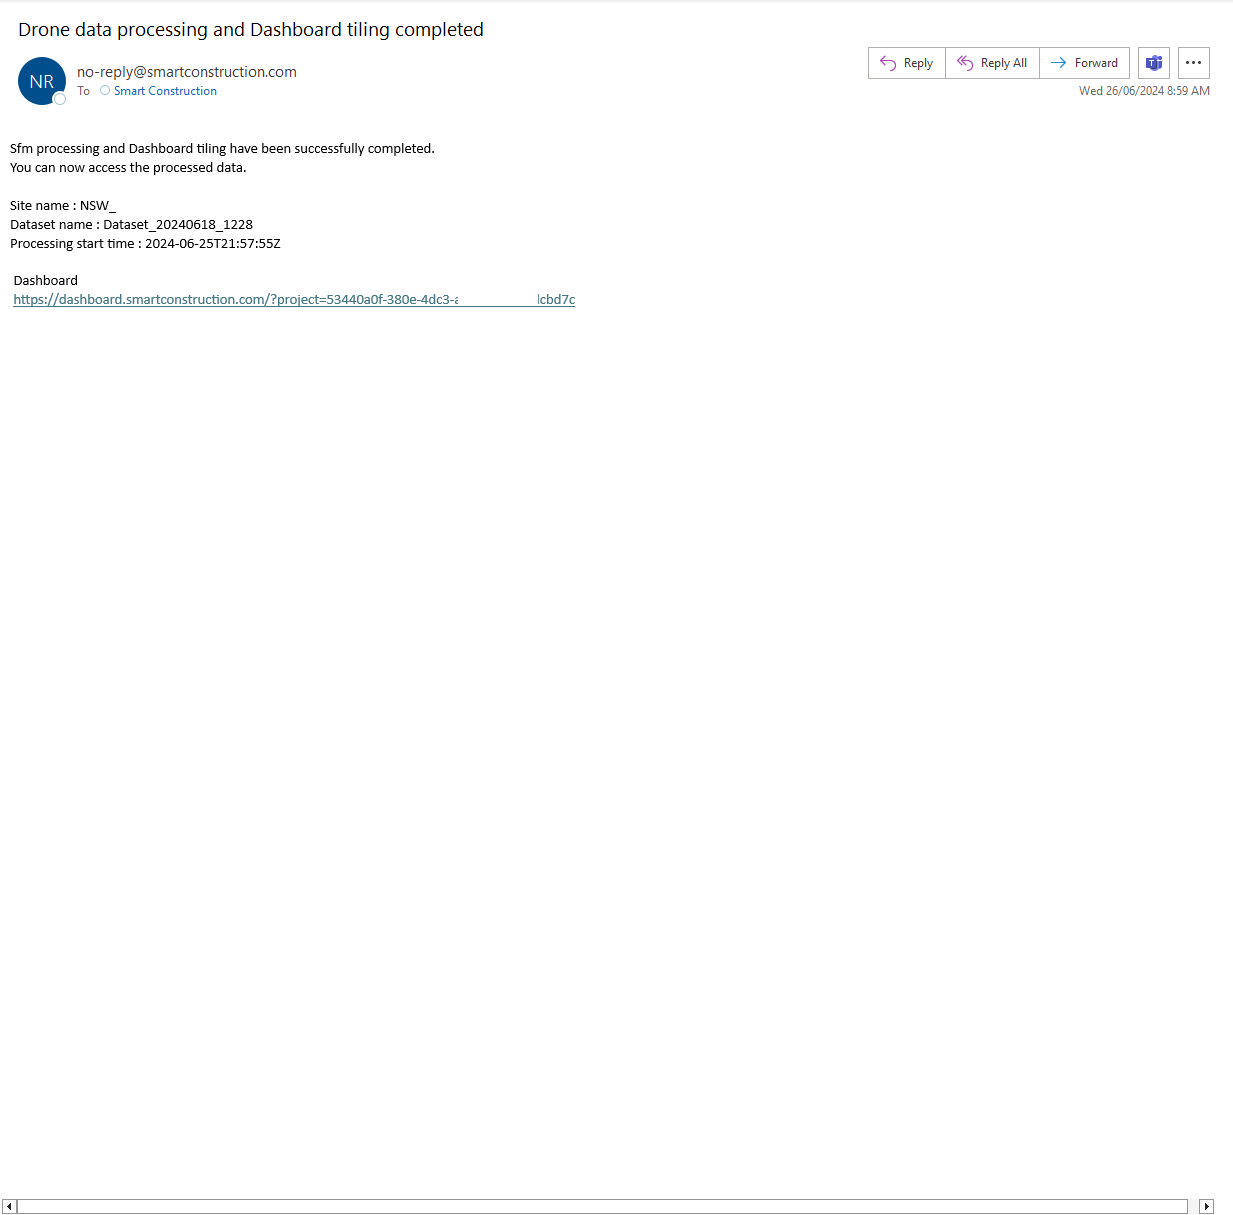
The data is automatically sent to dashboard once complete.
You will receive an email notifying you the data is ready on SC Dashboard for use
A Fixed LAN broadband connection is advisable.
Start uploading when you know you can leave the laptop plugged into power and a fixed LAN or good wifi connection for a long time.